 ( 116 ) 29-Oct-2014
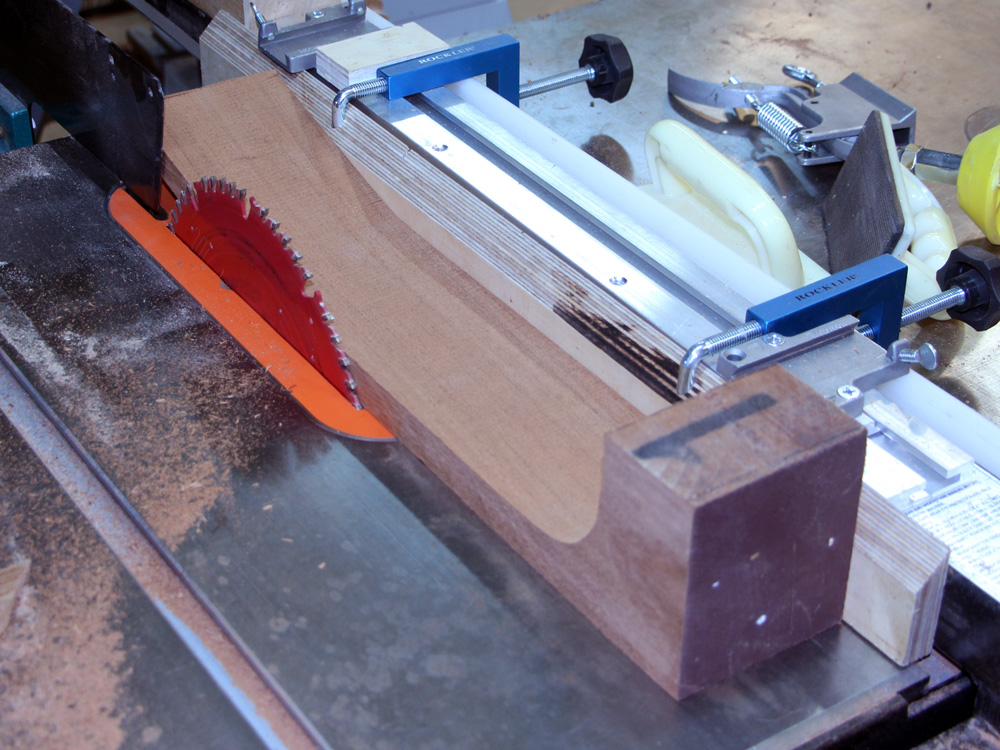
Now I start working on the neck. Here I am squaring up the previously made neck blank with the table saw.
( 116 ) 29-Oct-2014
Now I start working on the neck. Here I am squaring up the previously made neck blank with the table saw.
 ( 117 ) 29-Oct-2014
The sanding belt removes some irregularities.
 ( 118 ) 29-Oct-2014
I use my sanding table to route the channel for the truss rod.
 ( 119 ) 29-Oct-2014
The truss rod lets me control the amount of bow in the neck.
 ( 120 ) 29-Oct-2014
The strings will exert about 120lbs of tension, causing the neck to warp over time. The truss rod can be adjusted to resist this deformation.
 ( 121 ) 29-Oct-2014
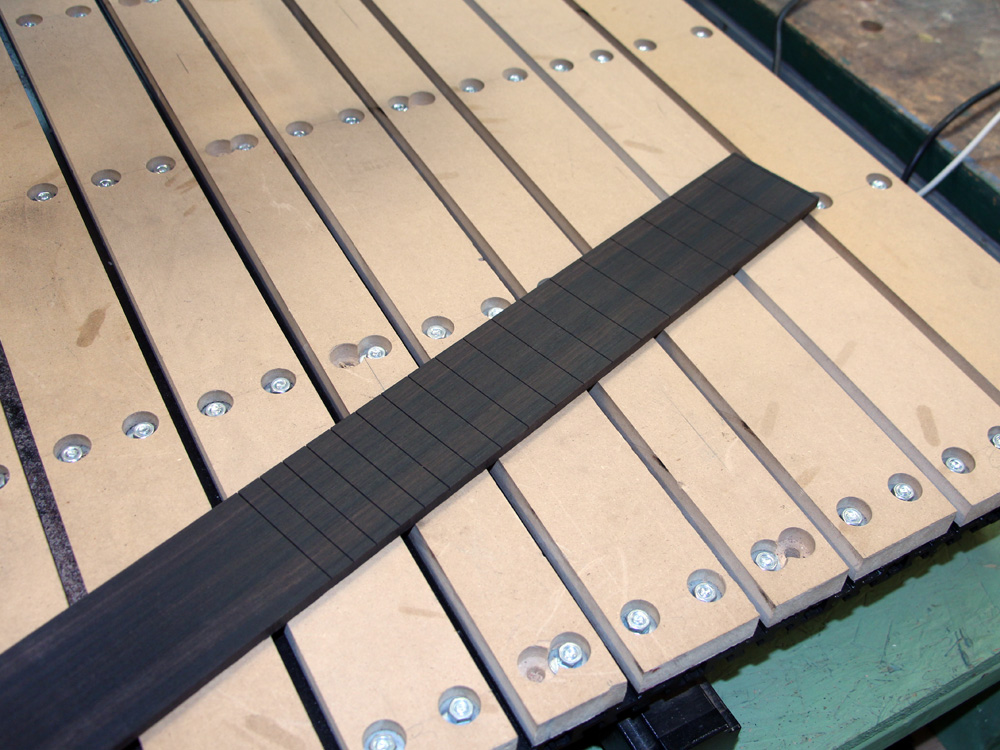
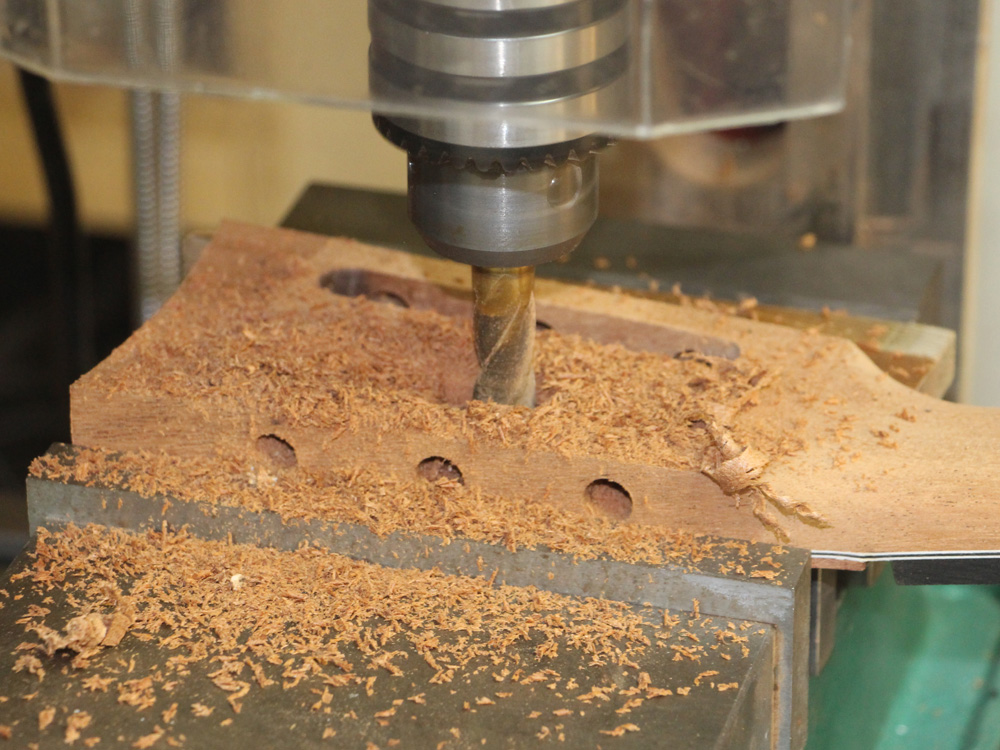
I have set up my CNC tool to cut the fret slots in the fretboard blank.
 ( 122 ) 29-Oct-2014
 ( 123 ) 29-Oct-2014
Next I layout the fretboard design on the blank.
 ( 124 ) 29-Oct-2014
And then I reduce the thickness with the drum sander.
 ( 125 ) 29-Oct-2014
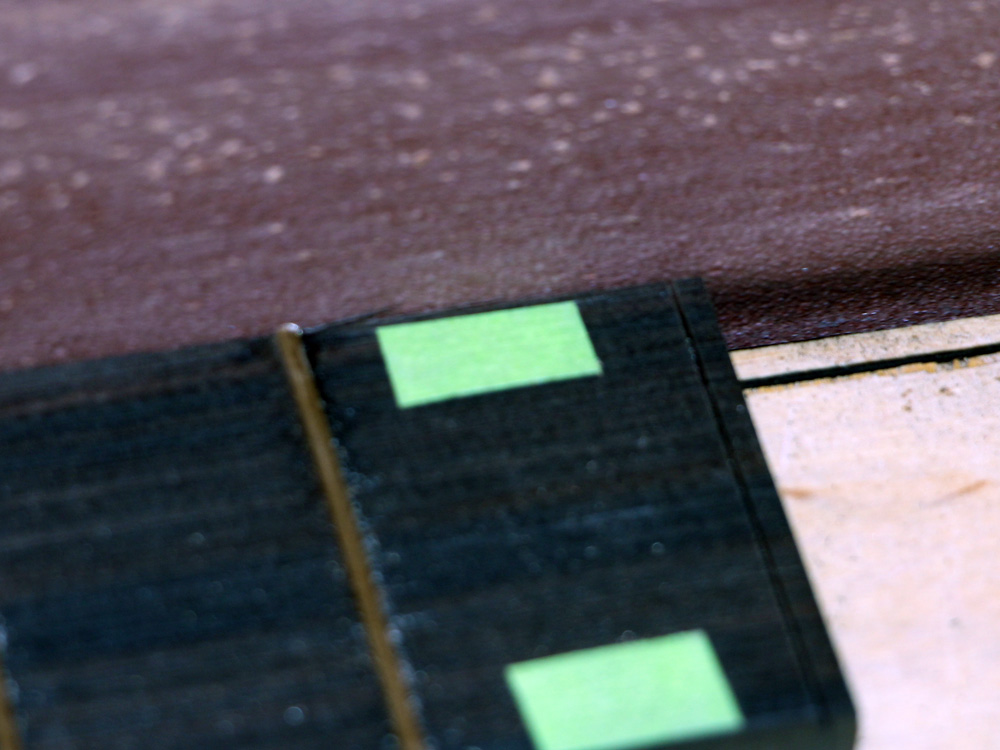
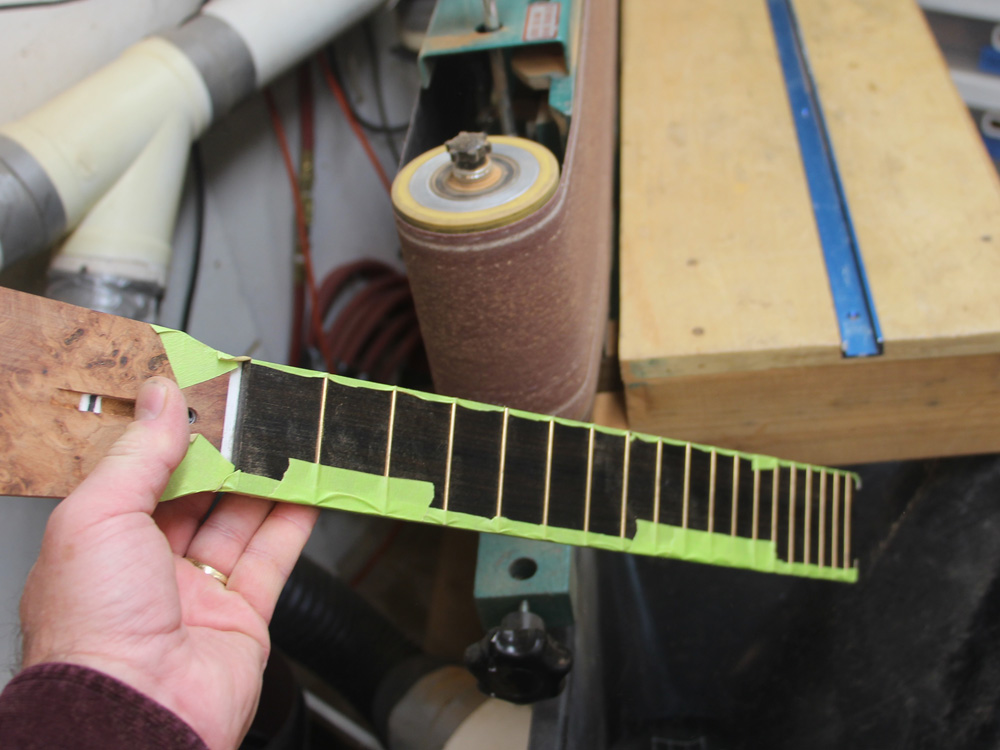
I place tape at the ends of the fretboard and use my straight edge to cut the tape on the outline of the fret board.
 ( 126 ) 29-Oct-2014
The edge of the tape tells me how much material I need to remove and I can make all of my measurement before I start.
 ( 127 ) 29-Oct-2014
First I use the band saw to come close to the edge.
 ( 128 ) 29-Oct-2014
And then the belt sander to fine tune the edge.
 ( 129 ) 29-Oct-2014
When I can't see any wood between the edge of the tape and the edge of the wood I know to stop sanding..
 ( 130 ) 29-Oct-2014
 ( 131 ) 29-Oct-2014
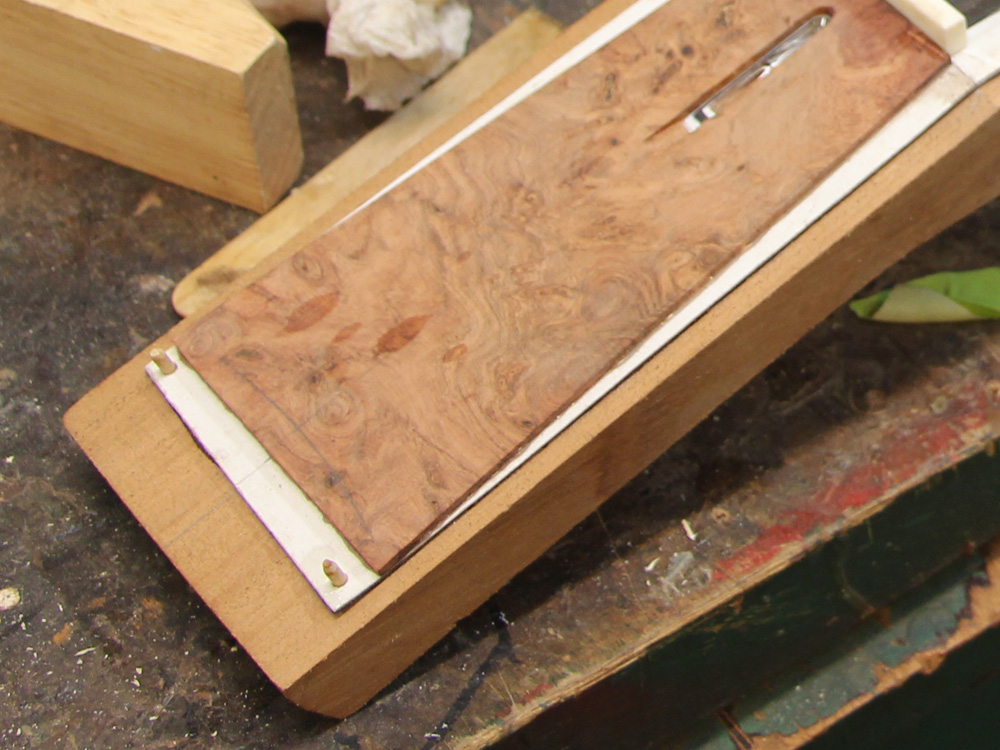
The bottom edge of the fretboard is going to have a white/black/white stripe to match the sides of the guitar. Here I have cut three layers of fiber board to create the pin stripe.
 ( 132 ) 29-Oct-2014
I then glue them together.
 ( 133 ) 29-Oct-2014
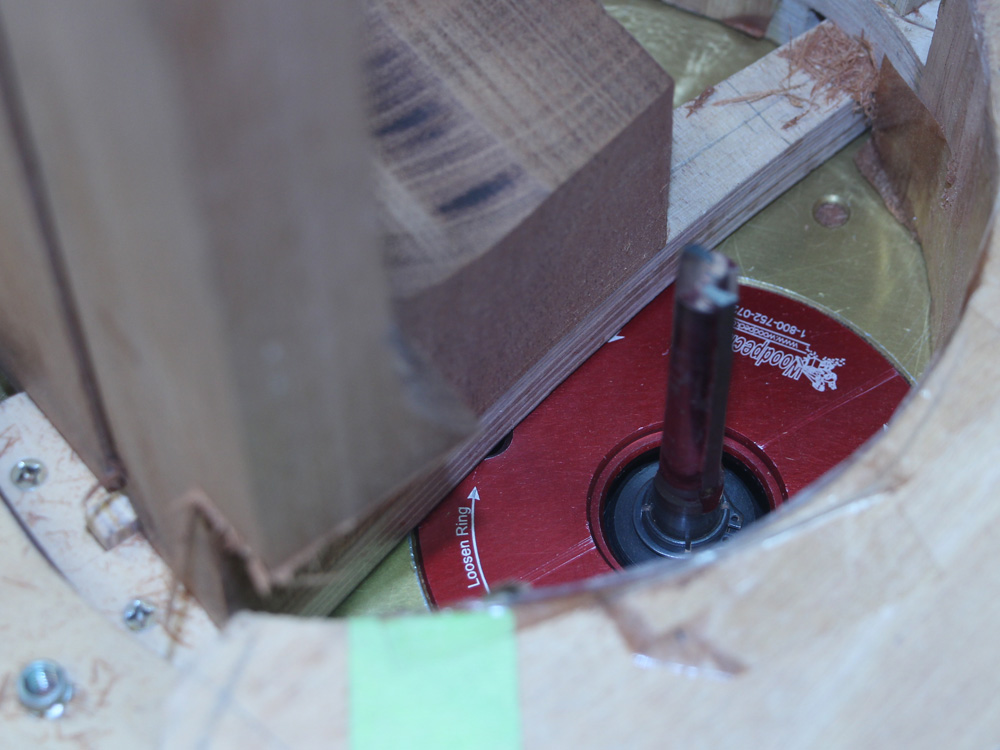
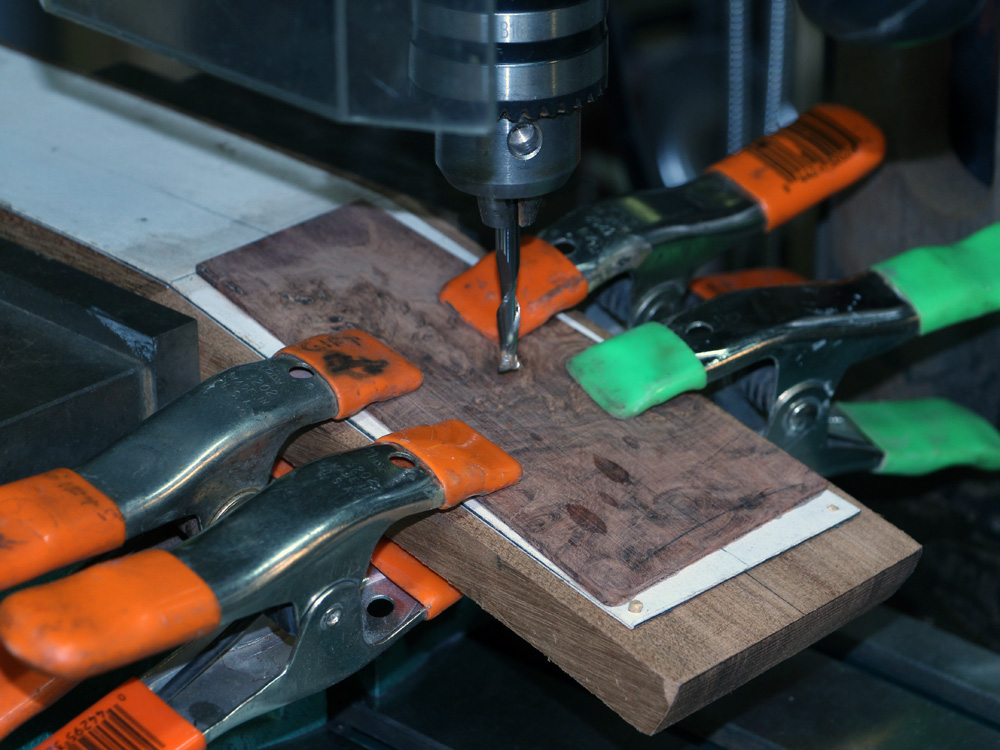
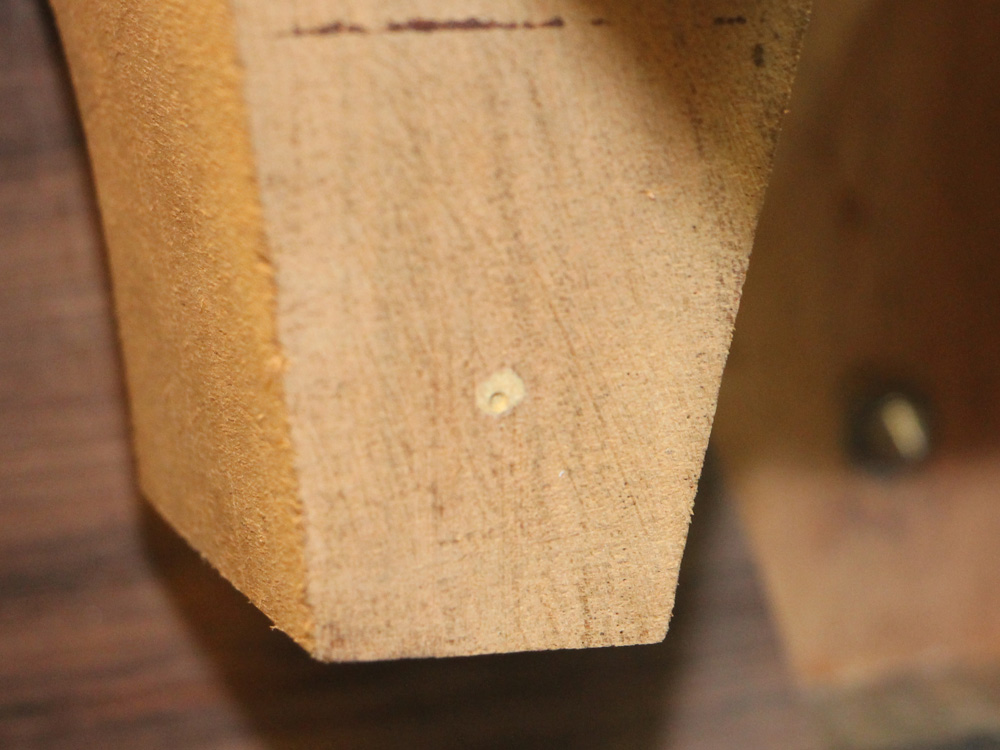
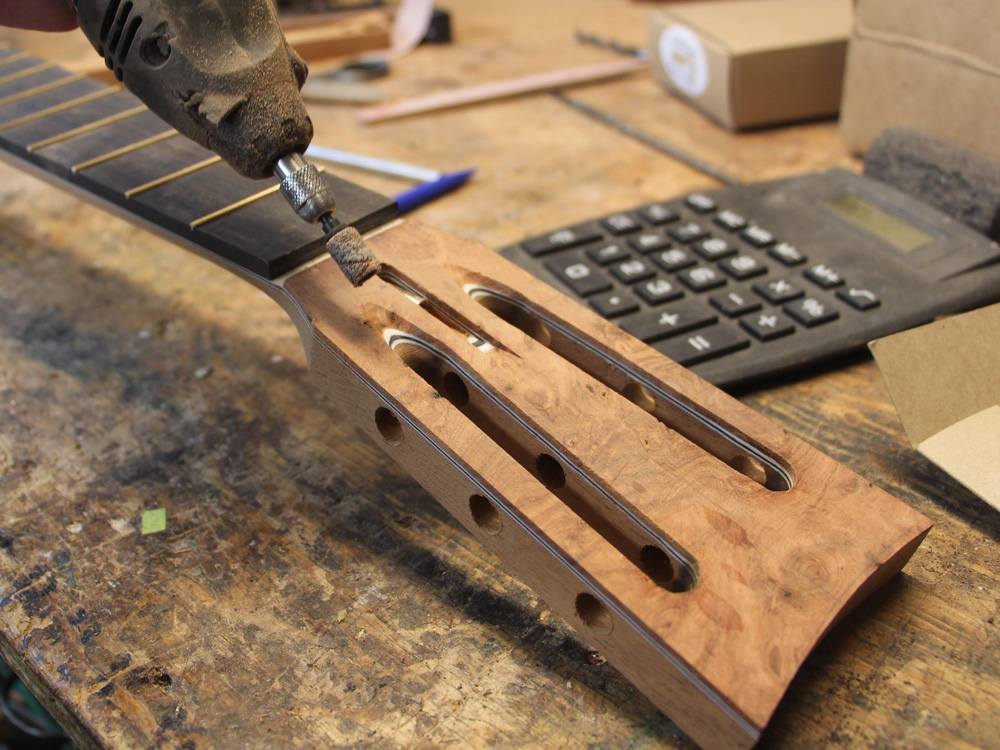
Next I drill a hole for the top next attachment barrel nut.
 ( 134 ) 29-Oct-2014
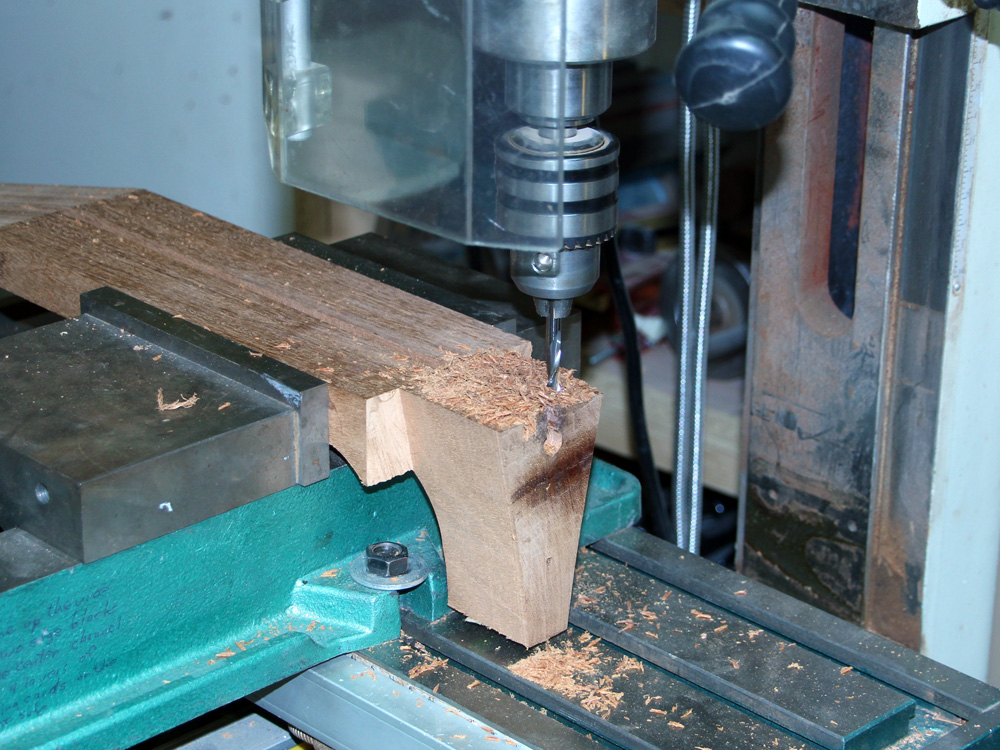
Here I have mounted the neck blank on a template with the shape of the heel.
 ( 135 ) 29-Oct-2014
The router bit follows the template...
 ( 136 ) 29-Oct-2014
and cuts out the heel.
 ( 137 ) 29-Oct-2014
 ( 138 ) 29-Oct-2014
Next I use the milling machine to create the support plate and wing channels.
 ( 139 ) 29-Oct-2014
The big channel is for the cantilevered fretboard support plate, and the small channels on the edges are for the top plate heel channel wings.
 ( 140 ) 29-Oct-2014
Now with everything lined up on the head plate I cut a channel in the veneer plate to expose the truss rod adjustment bolt.
 ( 141 ) 29-Oct-2014
 ( 142 ) 29-Oct-2014
Here I am cutting a 3 deg bevel in the back of the heel to make sure it will have free movement in the heel channel.
 ( 143 ) 29-Oct-2014
Next I trim the bottom of the heel to fit the heel channel.
 ( 144 ) 29-Oct-2014
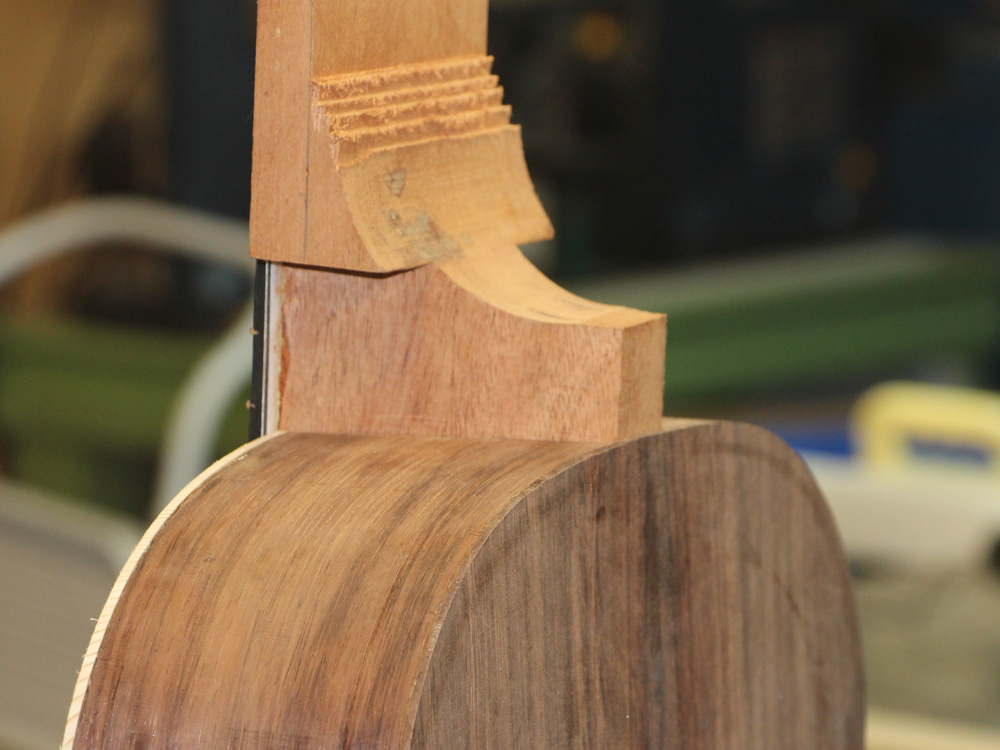
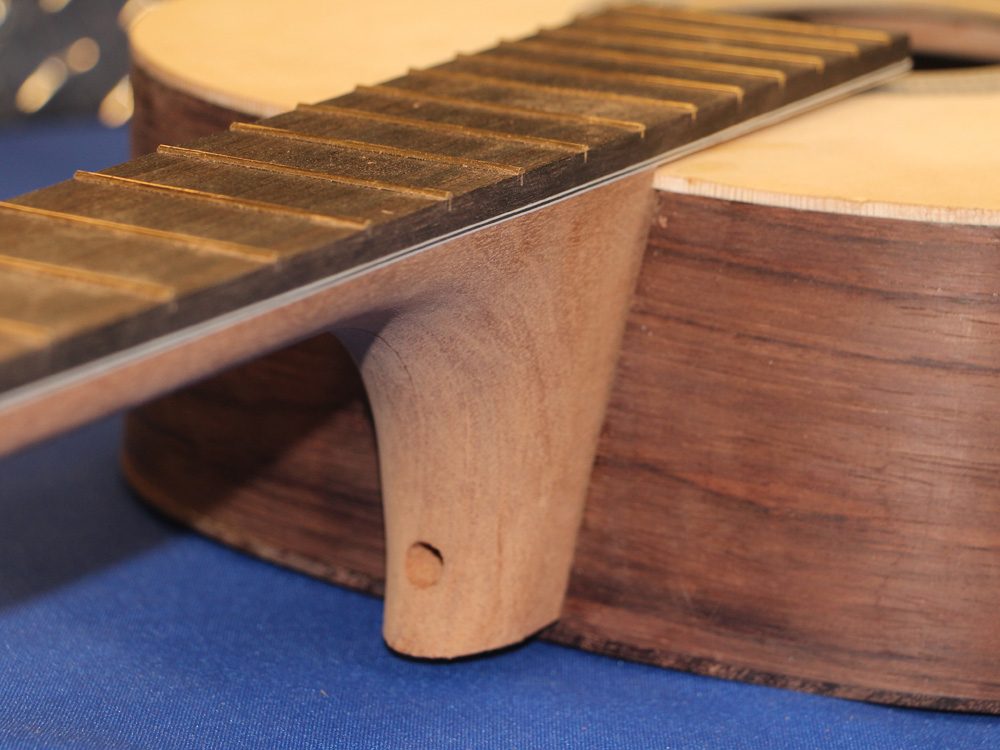
Here you can see haw the heel fits into the heel channel.
 ( 145 ) 29-Oct-2014
Next I cut a channel in the support plate for the truss rod.
 ( 146 ) 29-Oct-2014
A bit of glue.
 ( 147 ) 29-Oct-2014
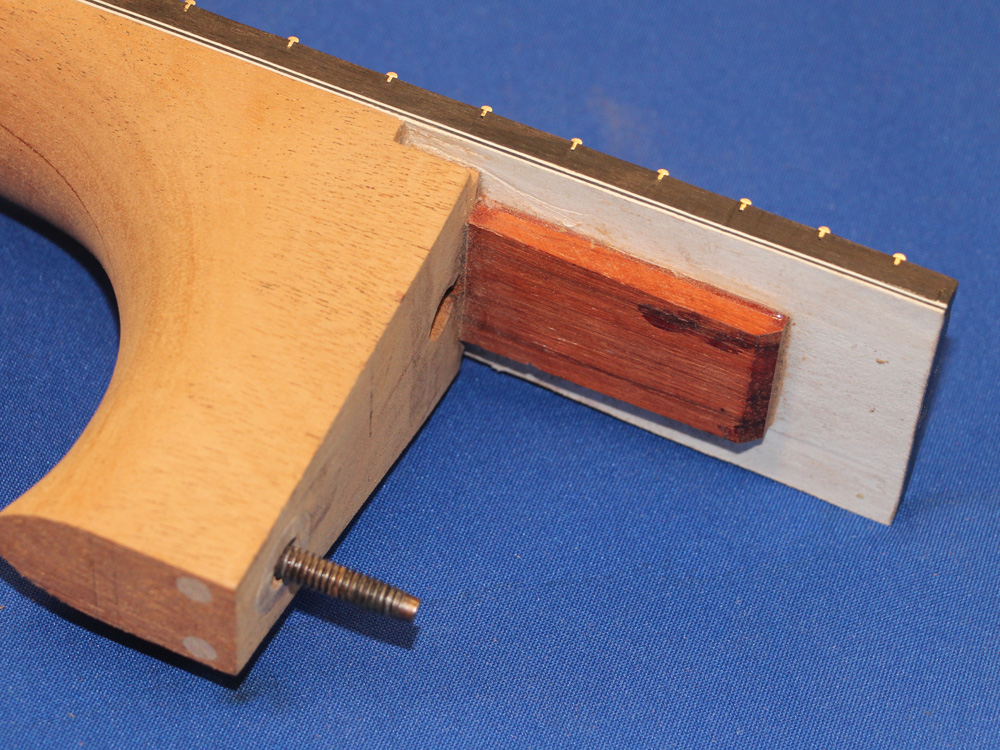
And here you can see the support plate glued in place. This plate reenforces the portion of the fretboard that floats over the top of the guitar body.
 ( 148 ) 29-Oct-2014
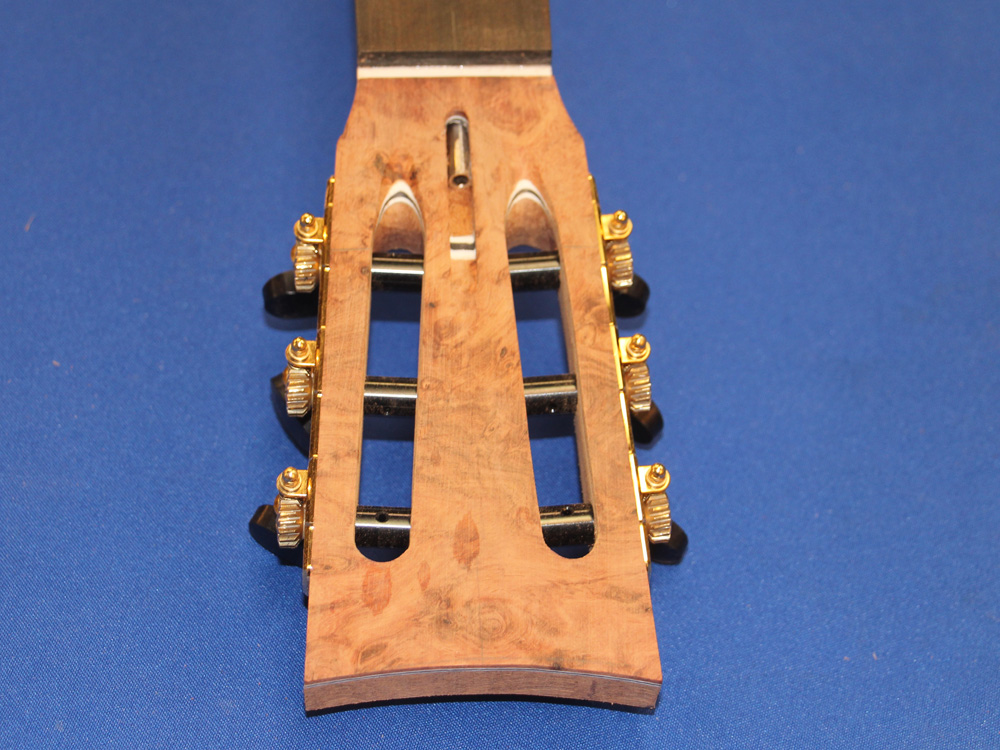
Next I line up the pinstripe assembly on the head stock using two small wood dowels.
 ( 149 ) 29-Oct-2014
And then after carefully positioning the fretboard I glue a few positioning blocks on the assembly. I use these positioning blocks so that when I am gluing everything together I don't have to worry about positioning. Freshly glued wood is slippery and these help keep everything in place.
 ( 150 ) 29-Oct-2014
Epoxy goes on the bottom of the pin striping and the fretboard.
 ( 151 ) 29-Oct-2014
And then I clamp everything together.
 ( 152 ) 29-Oct-2014
Next morning.
 ( 153 ) 29-Oct-2014
Now I have set up to plane the bottom of the neck blank to dimension.
 ( 154 ) 29-Oct-2014
 ( 155 ) 29-Oct-2014
A slight 4 mm taper to the neck.
 ( 156 ) 29-Oct-2014
I have inserted a center point on the neck adjustment nut.
 ( 157 ) 29-Oct-2014
So when I insert the neck into the heel channel...
 ( 158 ) 29-Oct-2014
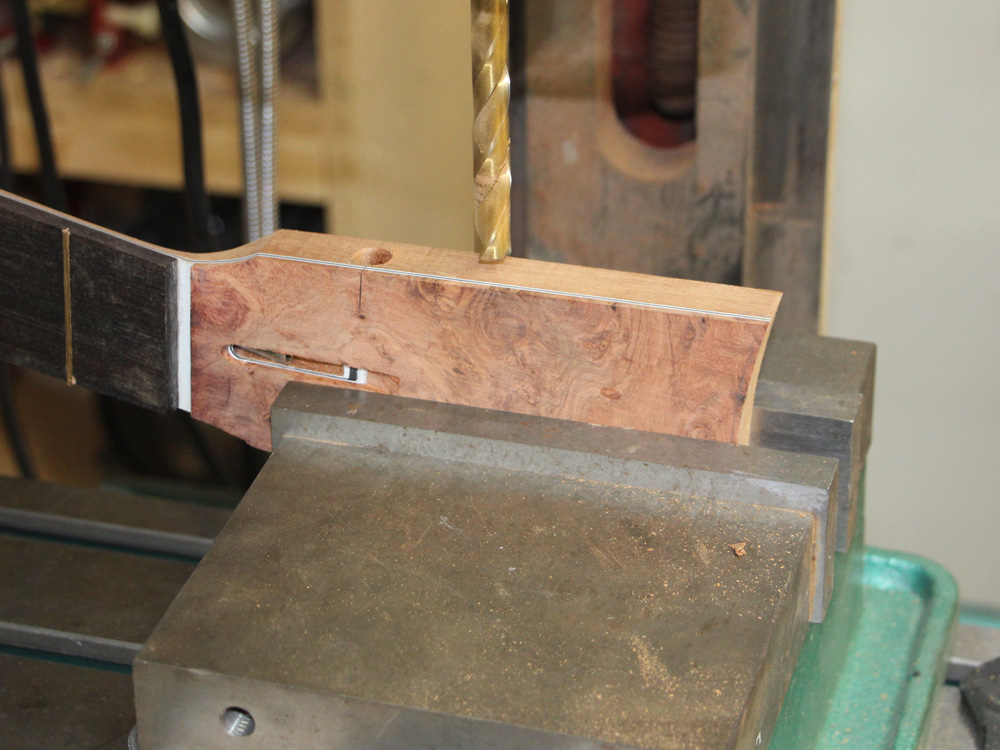
it leaves a small hole where I will drill out the holes for the neck angle adjustment hardware.
 ( 159 ) 29-Oct-2014
First I drill a hole for the hardware...
 ( 160 ) 29-Oct-2014
and then a coaxial hole for the adjustment tool access.
 ( 161 ) 29-Oct-2014
 ( 162 ) 29-Oct-2014
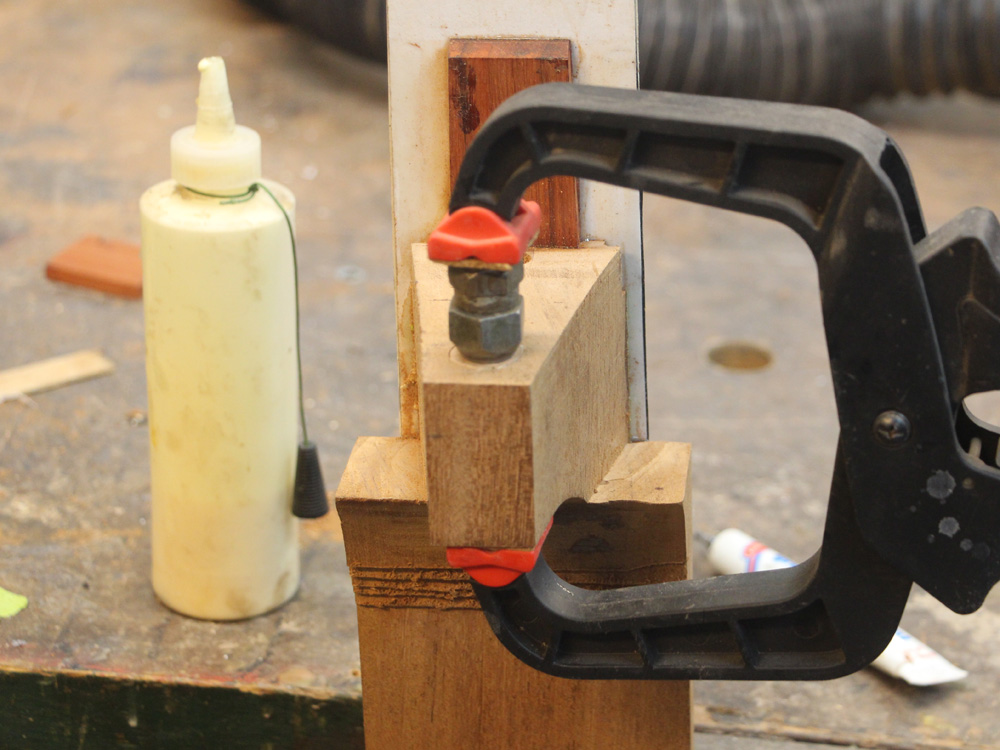
I use a small o-ring to provide a bit of compression, followed by a washer, then the adjustment bolt, and finally the retention flange.
 ( 163 ) 29-Oct-2014
A bit of glue on the flange and I stuff everything into the hole.
 ( 164 ) 29-Oct-2014
And then I compress the assembly just a little bit. I do this so that when you take the strings off, the neck won't flop around.
 ( 165 ) 29-Oct-2014
To prevent the flange from sliding out I drill two hole through the flange...
 ( 166 ) 29-Oct-2014
and insert two retaining pins. Without these pins the flange would tend to slip out over time and tension.
 ( 167 ) 29-Oct-2014
Now I trim off the excess from the neck blank.
 ( 168 ) 29-Oct-2014
I use the router table to clean up the sides.
 ( 169 ) 29-Oct-2014
 ( 170 ) 29-Oct-2014
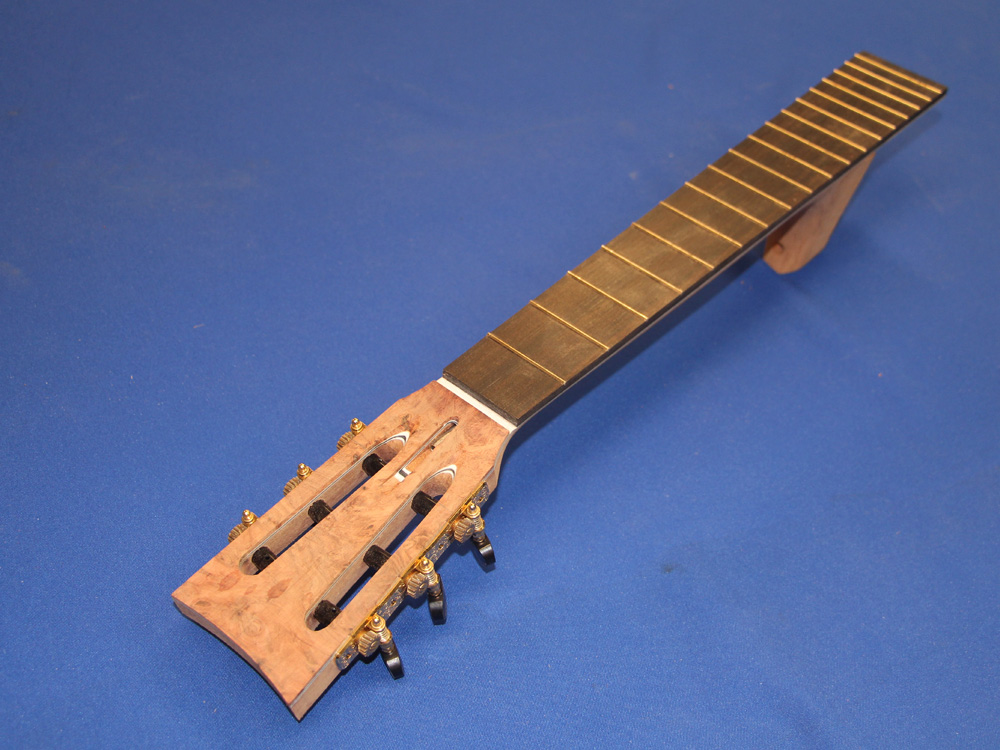
And the headstock gets trimmed to shape using a template.
 ( 171 ) 29-Oct-2014
Now I start shaping the neck with the end of belt sander.
 ( 172 ) 29-Oct-2014
 ( 173 ) 29-Oct-2014
And after the heavy lifting has been done I use a variety of tools to finish up the shape.
 ( 174 ) 29-Oct-2014
A use a matrix of contour gauges to get a good idea of the shape profiles along the length of the neck.
 ( 175 ) 29-Oct-2014
By sighting down the matrix I can see where I need to work next.
 ( 176 ) 29-Oct-2014
Here I am drilling the holes for the tuning machines.
 ( 177 ) 29-Oct-2014
A test fit.
 ( 178 ) 29-Oct-2014
 ( 179 ) 29-Oct-2014
And then I mill out the string channels in the headstock.
 ( 180 ) 29-Oct-2014
 ( 181 ) 29-Oct-2014
And then finally I bevel back the channels for the string access.
 ( 182 ) 29-Oct-2014
 ( 183 ) 29-Oct-2014
 ( 184 ) 29-Oct-2014
 ( 185 ) 29-Oct-2014
 ( 186 ) 29-Oct-2014
 ( 187 ) 29-Oct-2014
 ( 188 ) 29-Oct-2014
Here you can clearly see the support plate in action.
 ( 189 ) 29-Oct-2014
 ( 190 ) 29-Oct-2014
 ( 191 ) 29-Oct-2014
Everything fits perfectly. Hurray!
 ( 192 ) 29-Oct-2014
 ( 193 ) 29-Oct-2014